Hi everyone. Welcome to Mrs. Lincoln's Inkin' and today's card/project share. Today is actually a picture tutorial on how to make this Gate Fold Easel card. It is so cute. This is what it looks like when it is opened...
So neat huh? I love it!!! I did this one with a Fall theme and love the "Fall" wreath on the inside. It is from the Christmas stamp set Wonderous Wreath. I used the Baby Wipe Technique on this image so that i could get numerous colors on the wreath. I did a picture tutorial on that technique too. You can view that entire post Here. So, let's get started on how to make today's project shall we?
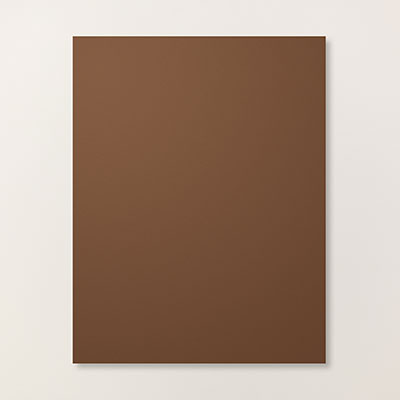
First you are going to need a piece of card stock that is cut at 8 1/2" x 11. The picture below is using Chocolate Chip.
Once you have your color chosen, on the 11" side you need to make a score line at 5 1/2".
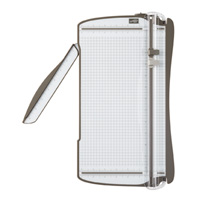
Now flip your card stock so the 8 1/2" side is at the top of your score board and score at 2 1/8" and 6 3/8".
Now flip your card stock 9- degrees and score at 2 1/4" and 6 1/4". These score lines should be just inside the score lines that you scored at 2 1/8" and 6 3/8"
Now you are going to do another score mark in between your 2 1/4" and 6 1/4" lines. Then you are going to want to cut out the 2 side rectangles as seen below.
Fold all of your score lines.
You are going to need an inside piece that is cut at 4" x 5 1/4". Below i am using Pumpkin Pie. You can choose to use the same color as the base of your card:)
To create your easel cut a piece at 4" x 5 1/2" and then attach it ONLY to the bottom panel under your score line. If you adhere to the entire piece then it won't stand up!!
For your panels you are going to need 4 cut at 1 7/8" x 5 1/4". Now, if you want DSP atop of those panels, like i did on my card at the top of the post, then you would cut another 4 panels at 1 3/4" x 5 1/8".
Your panels are going to go on the front of your card and then on the inside pieces to makes sure that your inside is decorated as well:)
So this is what it would look like when all of your pieces are put together. Now, to hold your easel up you are going to want to put either a strip, a button, a punch of some sort in the middle of your base so that your easel has something to help it hold it up.
Then you will need a belly band to hold your project closed. This needs to be cut at 8 1/2" x 1". Now gently fold this around your project. You do NOT want to fold it tightly, you just want it tight enough to where it holds it closed but you want to make sure that it is able to slide on and off easily.
There, that wasn't terrible right? I love the gated cards. Actually i LOVE everything that has to do with paper crafting... :) The item that i am showcasing today is a holiday set that is actually in the Annual Catalog called Truly Grateful.
So that is all for today folks! Before you head out make sure to check out the Weekly Deals and the Clearance Rack!! Until next time...
Happy Inkin'
Sara
See Something You Like? Shop My On-Line Store 24/7
Product List






No comments:
Post a Comment